These days, I find that most of my ideas for story-based activities with the kids come organically from them, rather than owing anything to my pre-planning.
In this case, my 8 year old son suggested at lunch that we each tell a story about our favourite food. My four year old daughter launched into a caution ary tale about a girl who ate too much chocolate cake, with doleful consequences — but an uplifting finale.
Since this was the first time she had ever told a coherent story (or acknowledged that there was such a thing as too much chocolate) I grabbed my iPad, and started transcribing like mad.
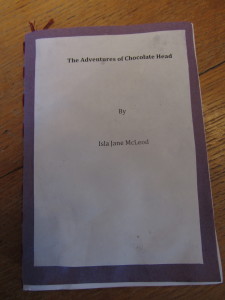
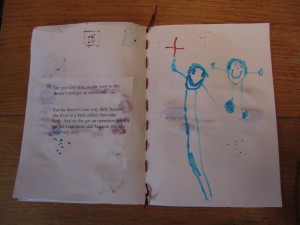
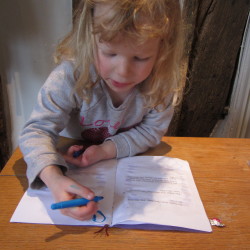
That night, after the kids were tucked in bed, I printed off the story, adjusting the margins so that the text would fit into a booklet of A4 (UK equivalent to US letter sized) paper. The next day, we bound a simple book of six pages (3 sheets of A4, folded in half, plus a cover of construction paper) using embroidery thread, and glued the text into the book. My daughter illustrated the text with her signature smiling stick figures.
The result looked rather amateurish — and I have learned plenty of tips for the next time. However, Isla could not have been more thrilled with the product — and I’m hoping it inspires her to write more.
Instructions for making a child’s story into a book
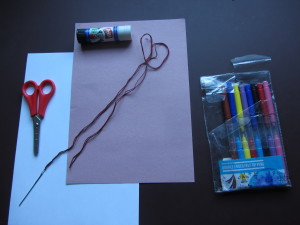
- a computer printer
- A4 or letter sized printer paper
- 1 piece of construction paper
- Embroidery thread, an embroidery needle, and a pin
- Scissors
- A glue stick
- felt tips, or pencil crayons for illustrating
Instructions
- Have your child narrate, or write a story out long hand.
- Input the story into your word processing programme of choice, leaving double spaces between the paragraphs. Make two copies of the cover page with title and author so that you can use one as a cover, and one as a title page.
- Print off the story, adjusting the margins so that the text will fit neatly in a folded booklet made out of A4 or letter size paper.
- Assemble the booklet by folding three or four sheets of A4 or letter sized paper at the midpoint of the long side to make a booklet. (The booklet will be A5 size, if you are using A4 paper). Add a cover made out of construction paper, also folded across the middle of the long side.
- Sew the booklet with embroidery thread and a large embroidery needle. To do this, first perforate the crease with a pin at 1-2 cm intervals, then sew along the perforations. The child may be able to do this independently, or with guidance.
- Cut out and glue the cover text onto the construction paper cover, and the first side of white paper.
- From there, cut the story into either five or seven segments, (depending on whether you are using three or four sheets of paper) and glue one segment into the left hand pages of the book. Leave the right hand pages blank for your child to illustrate.
- Modify and improve as desired — e.g., you may wish to include page numbers, a ‘The End’ page, etc.
 I have no doubt that there are more elegant and efficient ways to do this — including by printing off the text in booklet form so that you don’t have to cut and paste with scissors and glue stick. However, this approach enabled Isla to ‘see’ the book being created, and was certainly fit for purpose. And though the product was rough, she was enchanted with it.
Have fun!


No comments yet.